
Table of Contents
Know Your Shirt’s Fabric Before You Shrink
Before jumping into any shrinking method, it’s essential to understand what your shirt is made of. Each fabric has unique characteristics and reacts to heat and water in different ways. Some shrink with just one wash, while others need more effort, or shouldn’t be shrunk at all. Knowing your fabric not only improves results but also prevents costly mistakes like shrinkage beyond recovery or ruining the texture.
The care label on your shirt offers a great starting point. Look for material composition and care instructions. Natural fabrics like cotton and wool usually respond well to shrinking, while synthetic fibers like polyester are more resistant. Blends might behave unpredictably and should be tested first. If you skip this step, you risk over-shrinking, damaging, or distorting your shirt.
Understanding your fabric saves time, protects your shirt, and ensures the shrinking method you choose will work best for that material. It’s the difference between a fitted finish and a fabric disaster.
1. Common Fabrics and How They React to Heat
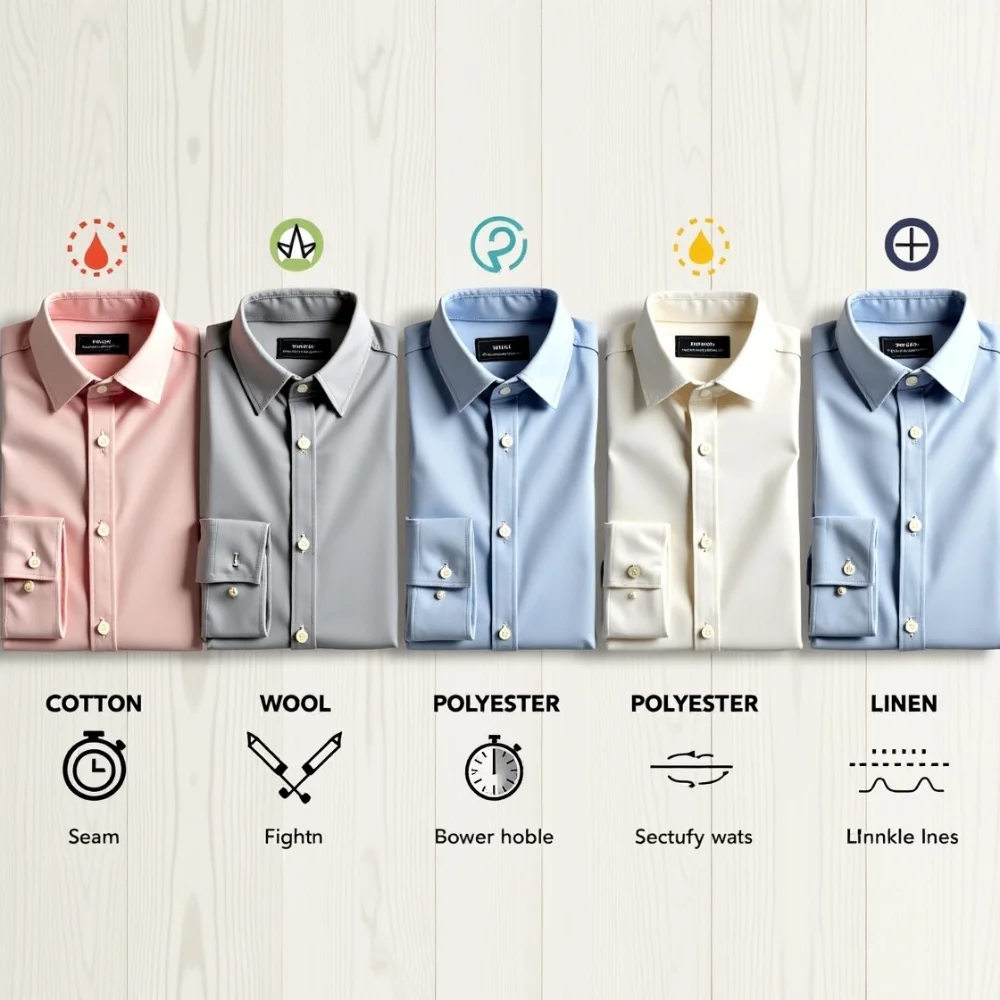
Every fabric reacts to heat and moisture differently. Here’s how the most common shirt fabrics behave when exposed to shrinking conditions:
- Cotton shrinks the quickest among all common fabrics. When you wash it in hot water and dry it on high heat, the fibers tighten and the shirt gets noticeably smaller. If you’re looking for fast and predictable results, cotton is your best bet.
- Wool, on the other hand, reacts strongly to heat. Just a soak in warm water can cause it to shrink rapidly. But here’s the thing, wool can quickly mat together, causing the fibers to bond and altering both the texture and shape of the fabric. You’ll need to handle wool with extra care.
- Polyester doesn’t give in to shrinking easily. Since it’s a synthetic material, it resists heat and usually needs several high-heat wash and dry cycles to show any real difference in size. It’s a slow process, but still possible.
- Blended fabrics, such as cotton mixed with polyester, bring mixed results. One fiber may shrink while the other resists, causing uneven changes. That’s why it’s smart to test a small part of the shirt before committing to a full method.
- Linen shrinks well with heat and moisture, but it’s also known for wrinkling easily. To shrink linen effectively without ruining its look, go with warm water and finish the process with air drying instead of high heat.
Proven Shrinking Methods for Each Fabric
Once you’ve identified your fabric, it’s time to apply the right shrinking technique. Each fabric has its process, and using the wrong one can either do nothing or too much.
1. Cotton Shirt Shrinking Method
Cotton shirts are the most shrink-friendly. To get a smaller, tighter fit:
- Wash the shirt in hot water on a normal or heavy-duty cycle.
- Immediately place it in the dryer on high heat until fully dry.
- If needed, repeat the process for further shrinkage.
Cotton responds quickly, but watch for over-drying, which can affect softness and color. Turn the shirt inside out to protect prints or designs.
2. Wool Shirt Shrinking Technique
Wool needs a gentler hand. Here’s how to safely shrink a wool shirt:
- Fill a basin with lukewarm water (not hot).
- Let the shirt soak for 10–15 minutes, gently squeezing water through the fibers.
- Remove and lay it flat on a towel to air dry, reshaping it with your hands.
For more control, use a hand steamer to shrink certain areas. Avoid wringing the fabric, as this can cause it to lose shape.
3. Polyester and Blend Shrinking Method
Polyester and blends require more effort due to their synthetic structure:
- Wash on a hot water cycle, using a gentle detergent.
- Dry on high heat, but monitor closely to avoid melting or warping.
- For blends, use a pressing cloth and iron specific areas if needed.
Since shrinkage is minimal, patience is key. Repeat steps slowly and adjust between attempts.
4. Linen Shirt Shrinking Tip
To shrink a linen shirt without damaging its natural texture:
- Wash in warm (not hot) water using a short cycle.
- Dry on medium heat, but remove before it’s bone dry.
- Air dry the rest of the way to preserve the fabric quality.
Avoid ironing the shirt immediately after drying, as the heat can make the linen stiffer than desired.
Mistakes to Avoid While Shrinking
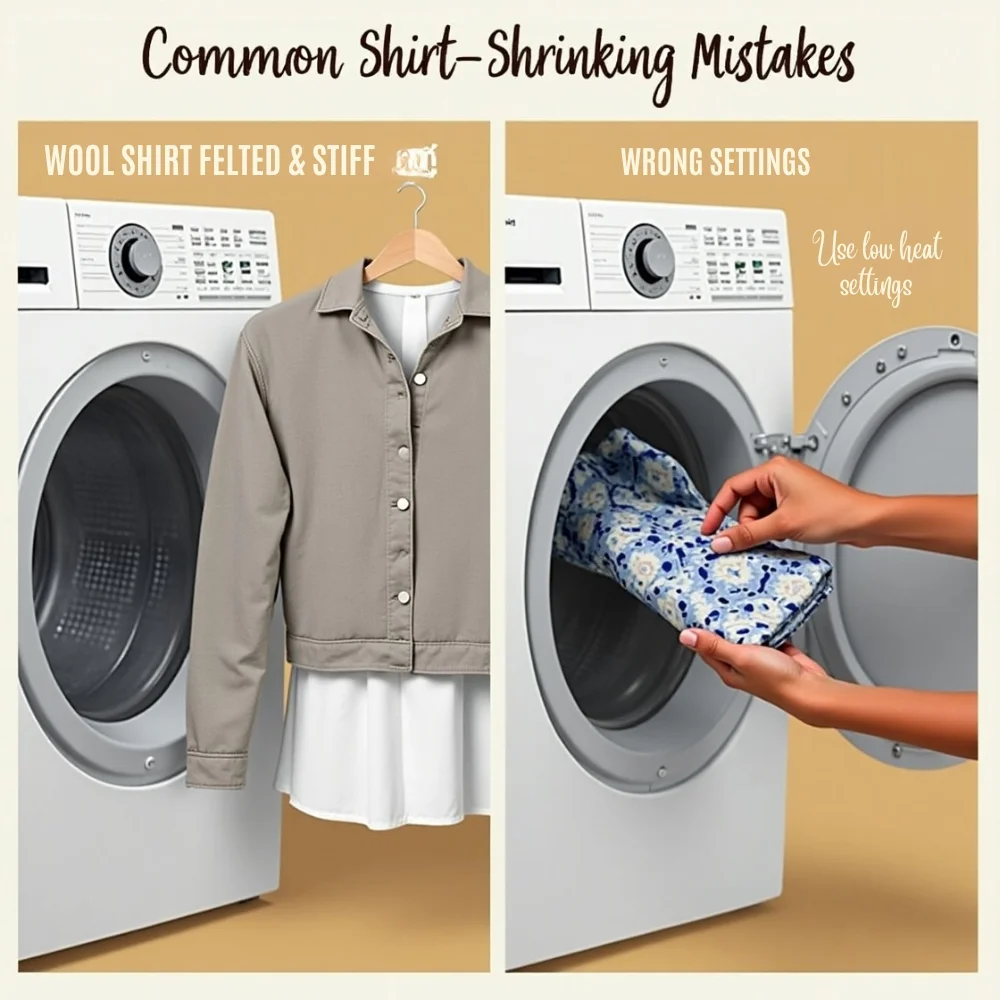
Shrinking a shirt might seem like a simple task, but one wrong move can permanently damage the fabric, alter the shape, or make the shirt completely unwearable. Even if you’ve selected the right method based on fabric type, ignoring a few key precautions can undo all your efforts. That’s why it’s important to avoid these common mistakes during the shrinking process.
1. Overheating Delicate Fabrics
One of the most common mistakes is using excessive heat on delicate fabrics. Natural materials like wool can shrink extremely fast and even become stiff or felted when exposed to high temperatures. This is known as felting, where the fibers tangle and harden, losing their softness and shape. On the other hand, polyester, being synthetic, may not shrink easily but can melt or warp under very high heat. Blended fabrics, like cotton-polyester mixes, react unpredictably and may shrink unevenly. The best approach is to always begin with low to medium heat and monitor the results after each step instead of going straight to the highest setting.
2. Ignoring Care Instructions
Each shirt comes with a care label for a reason. It provides essential information about how the fabric reacts to heat, water, and washing conditions. Skipping the care label is like driving without a map—you might get lucky, but chances are you’ll end up lost. Labels that mention “pre-shrunk” indicate that the shirt has already undergone a shrinking process during manufacturing, and additional shrinking might not be as effective. Similarly, tags that say “cold wash only” or “do not tumble dry” should be followed strictly to avoid ruining the garment.
3. Forcing Shrinkage Too Quickly
Patience is key when trying to shrink a shirt. Using boiling water or long, high-heat drying cycles may cause the shirt to shrink too much or unevenly. Gradual shrinking, where you test fit between cycles, provides better control and helps you achieve the desired fit without compromising the fabric’s texture or durability. Start slow and adjust as needed, because once a shirt is over-shrunk, reversing the damage is not always easy.
What to Do If the Shirt Doesn’t Shrink Enough?
Sometimes, a shirt just doesn’t shrink as much as expected after one attempt. Don’t worry, there are ways to get it right without giving up.
1. Use a Second Shrink Cycle
If the first try wasn’t enough, simply:
- Rewash the shirt in hot water.
- Tumble dry again on high heat.
- Check the fit between cycles to avoid going too far.
2. Steam Iron Only the Loose Areas
When only certain parts feel too big (like sleeves or hems), try targeted shrinking:
- Use a steam iron with medium to high heat.
- Place a damp towel or cloth between the shirt and the iron.
- Press gently in a circular motion over the oversized sections.
This method is perfect for small adjustments rather than full-size changes.
How to Unshrink a Shirt?
Accidentally shrinking your favorite shirt can be frustrating, especially if it ends up tighter than you expected. But the good news is, there’s a gentle and effective way to unshrink a shirt and bring it back to a wearable size. While it may not return completely to its original form, this process can help relax the fibers and restore enough room for comfort.
1. Use Hair Conditioner or Baby Shampoo Soak
To begin, you’ll need to loosen the tightened fabric. Start by filling a basin with lukewarm water, not hot, and mix in 1 to 2 tablespoons of hair conditioner or baby shampoo. This mixture helps soften and relax the fabric fibers, making them more flexible. Submerge the shirt completely and let it soak for about 30 minutes, gently swishing it around. The conditioner breaks the fiber tension, allowing the shirt to stretch without damaging it.
2. Gently Stretch While Damp
Once the shirt is finished soaking, lay it flat on a clean towel and roll it up to absorb excess water. Don’t wring or twist it. Then unroll and begin stretching the fabric slowly and evenly with your hands, focusing on the areas that feel the tightest, such as the chest, shoulders, or sleeves. Keep the movements gentle so you don’t damage the weave or distort the shape.
3. Let It Air Dry on a Towel
After reshaping, lay the shirt flat on a fresh towel and let it air dry completely. Avoid using hangers, which can cause uneven stretching, and never use a dryer at this stage. This slow-drying process helps the shirt hold its new, adjusted shape. While this won’t reverse shrinkage entirely, it can restore a better fit and save a shirt from being tossed aside.
Final Care Tips After Shrinking
After you’ve successfully shrunk your shirt, caring for it properly ensures it stays the right size and in good condition.
1. Wash in Cold Water Going Forward
To prevent further shrinkage:
- Always wash the shirt in cold water.
- Use gentle or hand-wash cycles if possible.
This keeps fibers stable and helps retain the desired size.
2. Air Dry Whenever Possible
Heat is the main cause of shrinkage, so:
- Lay flat or hang to dry instead of using the dryer.
- If you must use a dryer, choose the low heat setting.
This reduces stress on the fabric and extends the life of your shirt.